
Managing your contacts in DISCO
DISCO allows you to manage your Contacts so you can easily add all the people you work with, keep their information up to date, view their activity on the Playlists you share, and add notes to their profiles (that will be viewable by anyone else in your DISCO). You can also add and manage any writers you work with.
In This Article
- Adding Contacts
- Searching Contacts
- Viewing Contacts
- Editing & Deleting Contacts
- Sharing and contacts
- Exporting Contacts
Adding Contacts
1. Adding a single contact
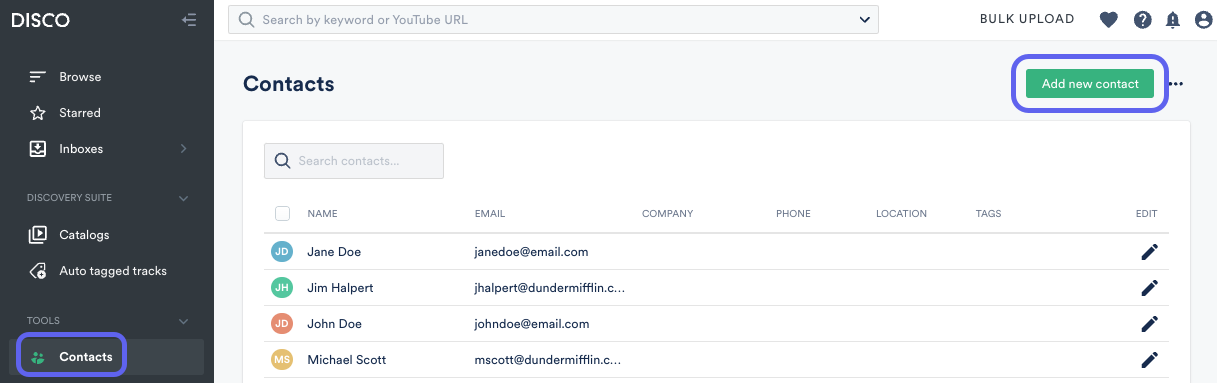
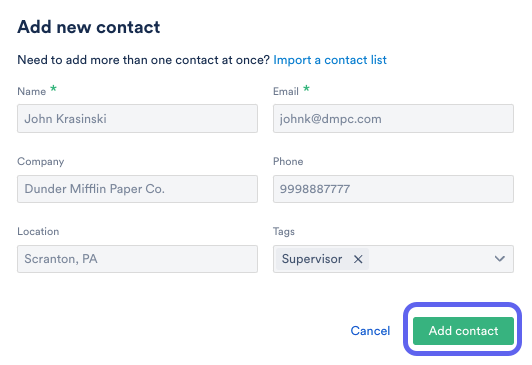
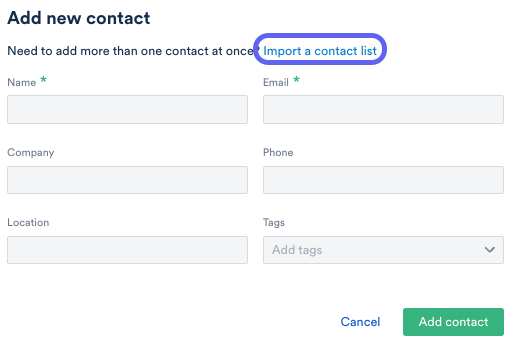
Anyone you share playlists with will automatically appear in your Contacts list, but you can also add contacts manually. To add a single contact, select Contacts from the left sidebar, and from the Contacts page, click Add new contact.
In the Add new contact window, enter your contact's information. Name and Email are required for most Contacts with one exception: if the contact is tagged as a Writer.
Optional: Add Tags to your Contact.
Available Tags include:
• Label
• Publisher
• Supervisor
• Writer (Name and Email are not required. Additional fields will appear so you can add their Publisher, Acts, and Performing Rights Organization, also known as PRO. For more information on managing Writers, refer to our article on managing writers).
• Other
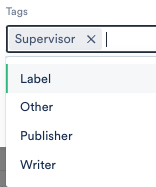
You can also type in the field to manually create a Tag.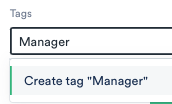
Click Add contact.
2. Adding multiple Contacts
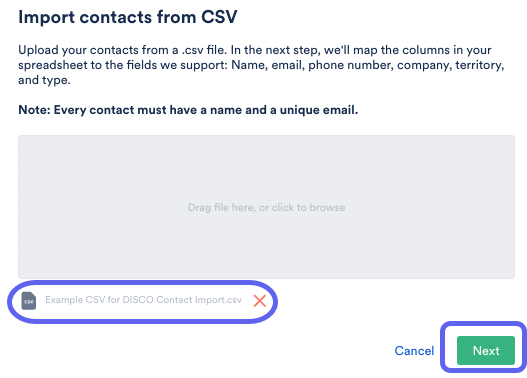
If you would like to add multiple contacts at once, you can upload a CSV file of your contacts into DISCO. To do this, select Contacts from the left sidebar, and from the Contacts page, click Add new contact.

In the Add new contact window, click the blue link to Import a contact list.
From the Import contacts from CSV window, drag and drop your CSV file, or click to browse your files.

IMPORTANT! To ensure a successful import, every contact must have a Name and a unique Email. Below is a good example of a properly formatted CSV:

Once your file is selected, click Next.
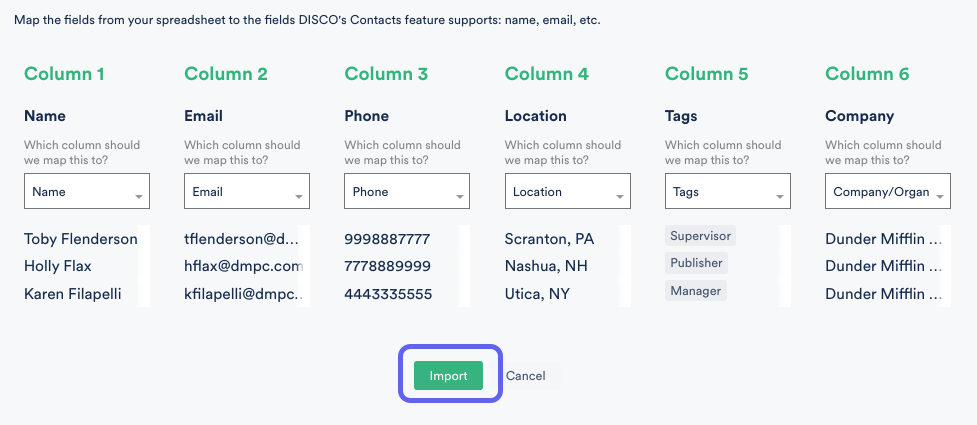
On the next page, you can preview and update the mapping of your spreadsheet columns to the Contact fields in DISCO. If your spreadsheet column names correspond with DISCO's supported fields, they will be pre-filled on this page.
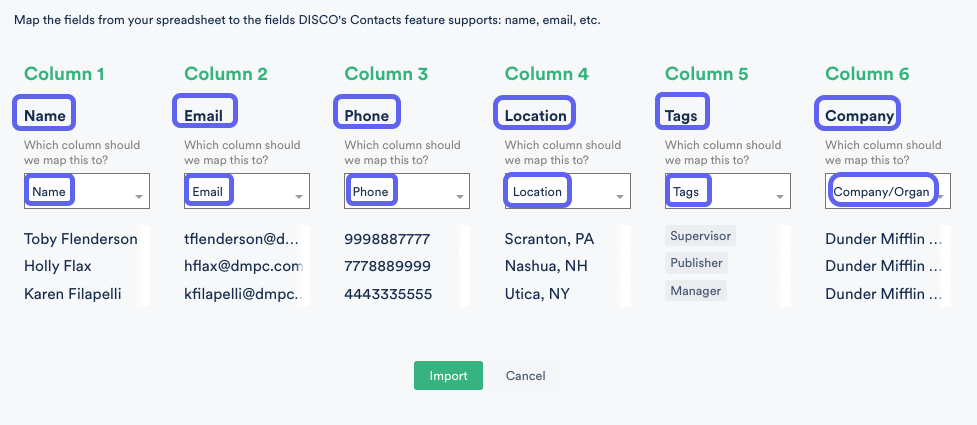
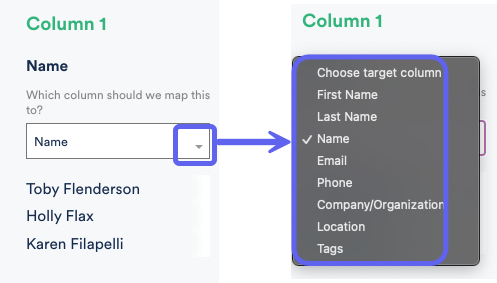
If not, you can select a column name from each drop-down to map them correctly before importing.
Once your columns are mapped correctly, click Import.
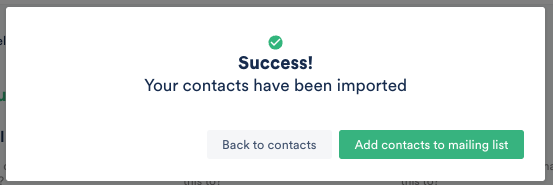
After a few moments, you will see this message once your contacts are successfully imported.
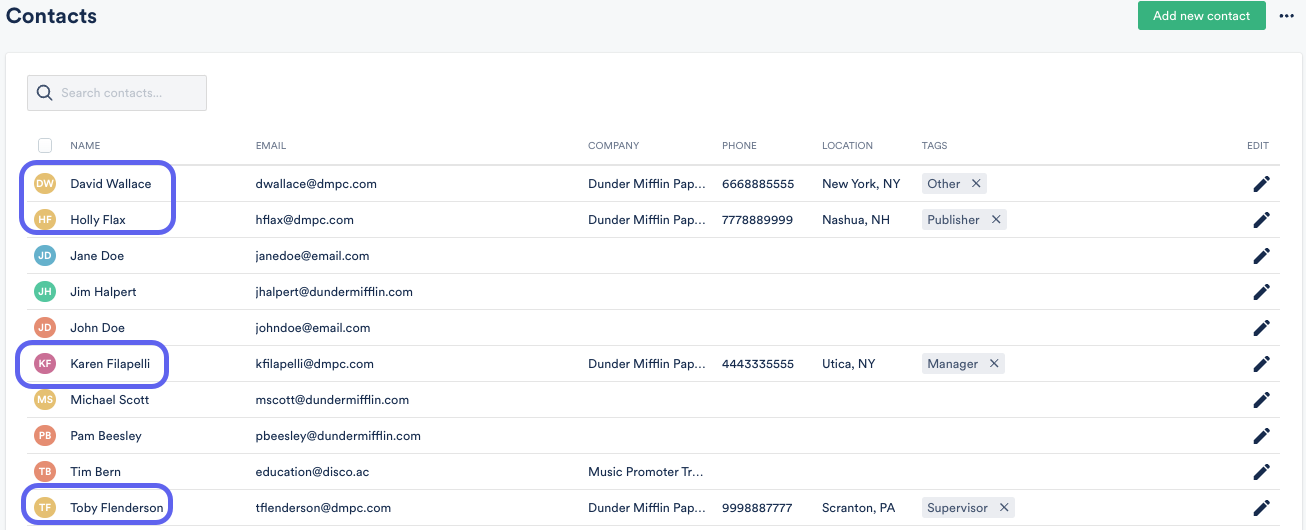
Newly imported Contacts will now show on your Contacts list:
Searching Contacts
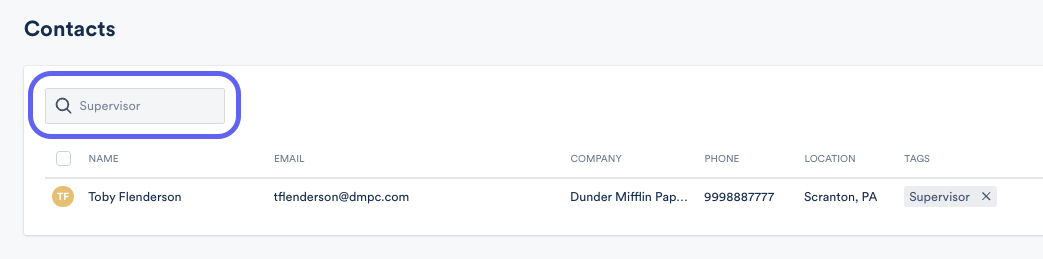
To search through your Contacts, use the search bar. You can search using data from any of the fields (Name, Email, Company, Phone, Location, Tags).
Viewing Contacts
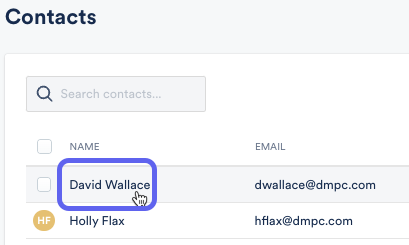
To view a contact, just click on their name in the Contacts list.
This will bring you to their contact page, where you can see their Details, Tags, Notes, Mailing Lists, and Activity.
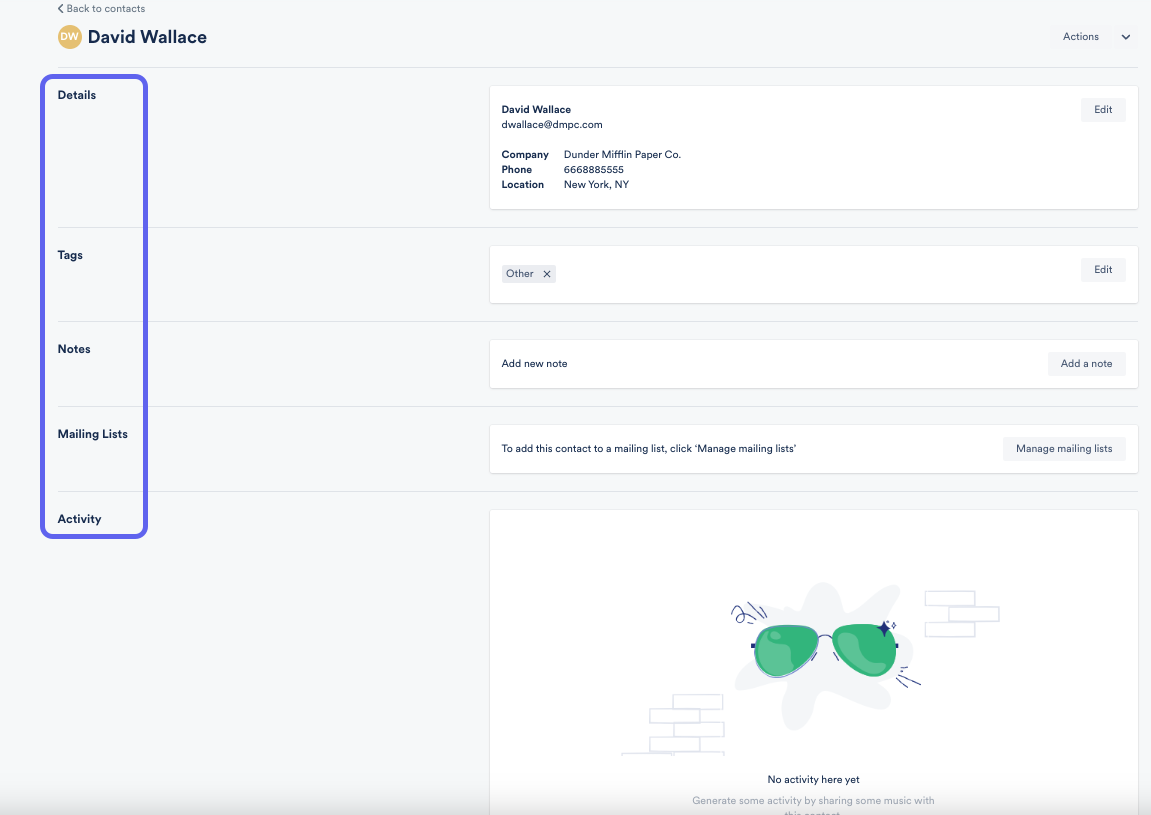
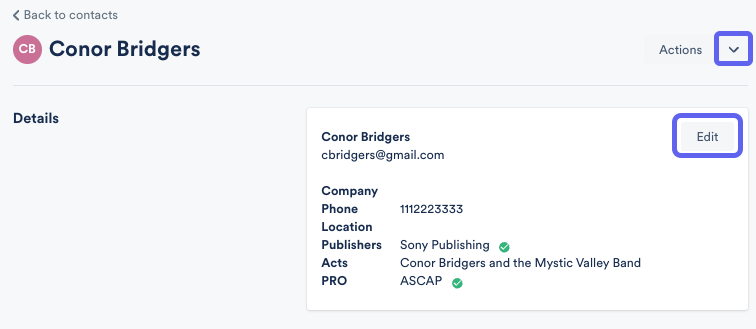
Details → view and edit basic Contact Information. If they are a Writer (as indicated by their Tags), their Publishers, Acts, and PROs will also be listed here.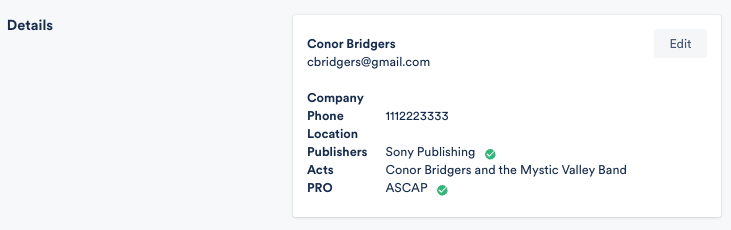
Tags → view and edit Tags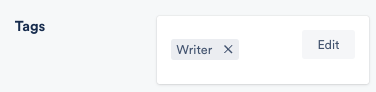
Notes → view, edit, and add Notes added by anyone in your DISCO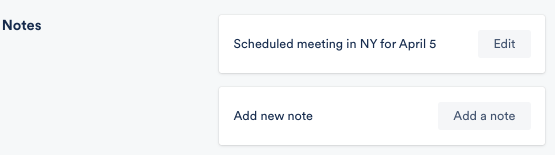
Mailing Lists → view Mailing Lists this contact is currently on, and add them to or remove them from Mailing Lists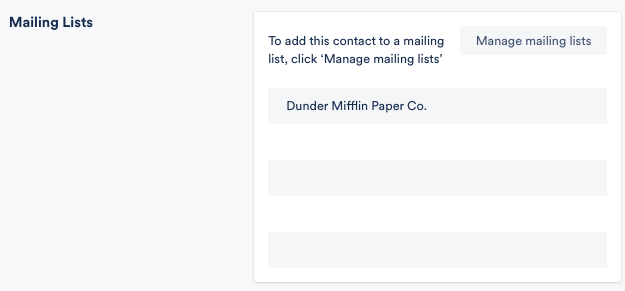
Activity → view any Playlists you have shared with this contact, and their activity on those playlists (Page Views, Downloads, Streams)
Editing and deleting Contacts
You can edit contacts in a couple of different ways:
From the individual contact page:
Clicking the Edit button next to the section you wish to edit, or click the Actions drop-down.
From the main Contacts page:
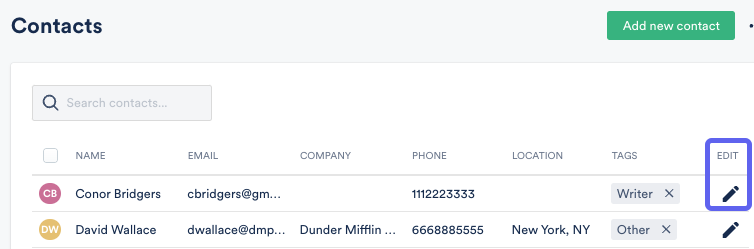
Click the pencil in the Edit column for that Contact.
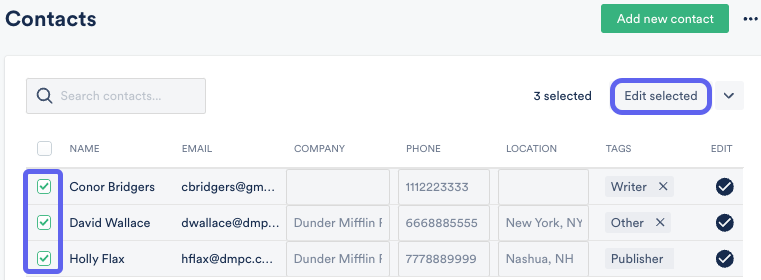
Edit multiple Contacts:
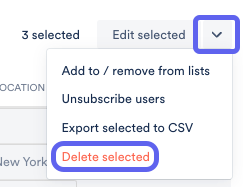
From the main Contacts page, check the boxes for each Contact, then click Edit selected in the top right corner.
To delete these Contacts, open the drop-down and click Delete selected.
Sharing Playlists with Contacts
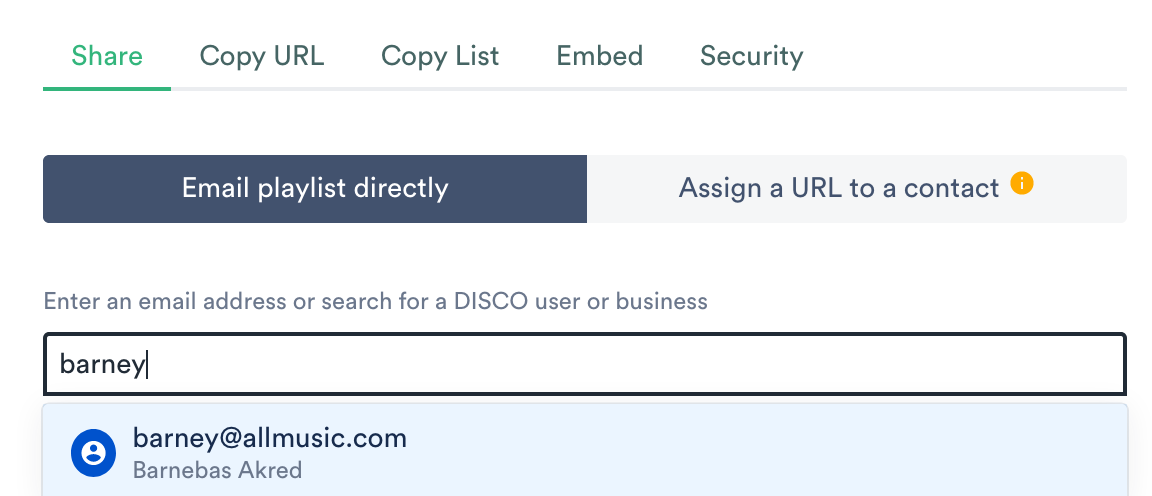
When sharing playlists, you can search for existing Contacts in the search box:
Exporting Contacts
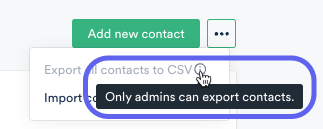
Contacts from your DISCO can be exported by Admins only. Non-admins will see this message if they attempt an export:
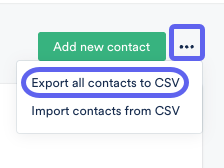
To export all Contacts:
Click the three-dot menu in the top right corner of the Contacts page, and select Export all contacts to CSV.
To export select Contacts:
Check the boxes for each Contact, then open the drop-down and click Export selected to CSV.